There are few home maintenance issues more disconcerting – you look up during a rainstorm, and see drops forming on the ceiling, or a small stream of water running down your walls. You realize that you have a roof leak, and until you have the opportunity to hire a professional Sarasota roofer, you’ll need to minimize the damage as much as possible. A roof tarp may be your answer.
If you have an active leak and it is raining, you should take immediate steps to protect your home.
Is a Roof Tarp a Viable Solution?
A roof tarp should never be considered a long term solution. Still, there are situations where tarping your roof may be advantageous. For instance, perhaps you do not have funds for an immediate roof repair.
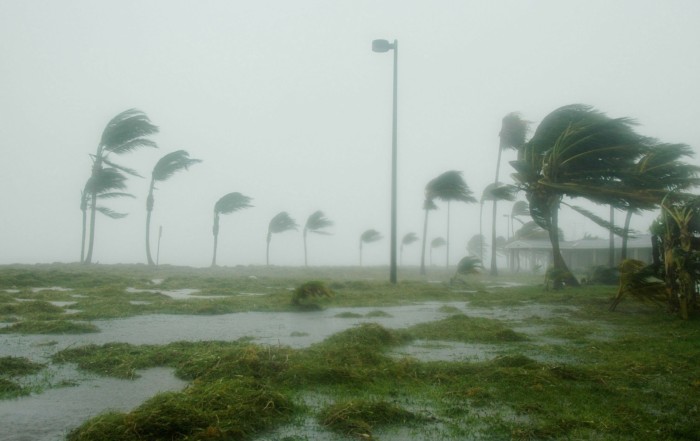
A more common problem in South Florida is that during hurricane season – known for heavy rains even if there is not a named storm – local roofing companies are overwhelmed with service and repair requests. If your roof damage is due to a major weather event, you will be competing for availability with hundreds, or even thousands of other regional homeowners. If this is the case, a roof tarp may be the only viable way to protect your home from further water intrusion while you await your opportunity to repair the roof.
How to Install a Roof Tarp
- The first step in applying a roof tarp is properly identifying where the roof leak originated. Unless you have visible damage on the roof which clearly indicates the problem, you may need to do a bit of detective work. The best way to find a roof leak when it is not visibly evident is to look in the attic. Often the point of intrusion is very clear from this vantage point. Look for telltale signs such as wet wood framing, compacted insulation, or dark spots on the structure.
- Once you have identified where the roof has been compromised, you will need to lay down a sufficient amount of tarp. Stretch the tarp tight, making sure that there is at least three feet of tarp extending beyond the damaged area in all directions. You should also extend the tarp, wrapping it over the roof line in order to keep water from dripping down the roof and making its way under the tarp.
- Secure the border of the tarp to the roof using 1″x4″ boards and 2″ deck screws. Construct a frame around the tarp with the boards to ensure that tarp is secured as tightly as possible. Expert Tip: Wrap the tarp around the boards and then screw everything down as one cohesive unit. This will result in your roof tarp being even more watertight.
Additional Tips
Here are just a couple fast facts to remember if you are considering a tarp for your roof:
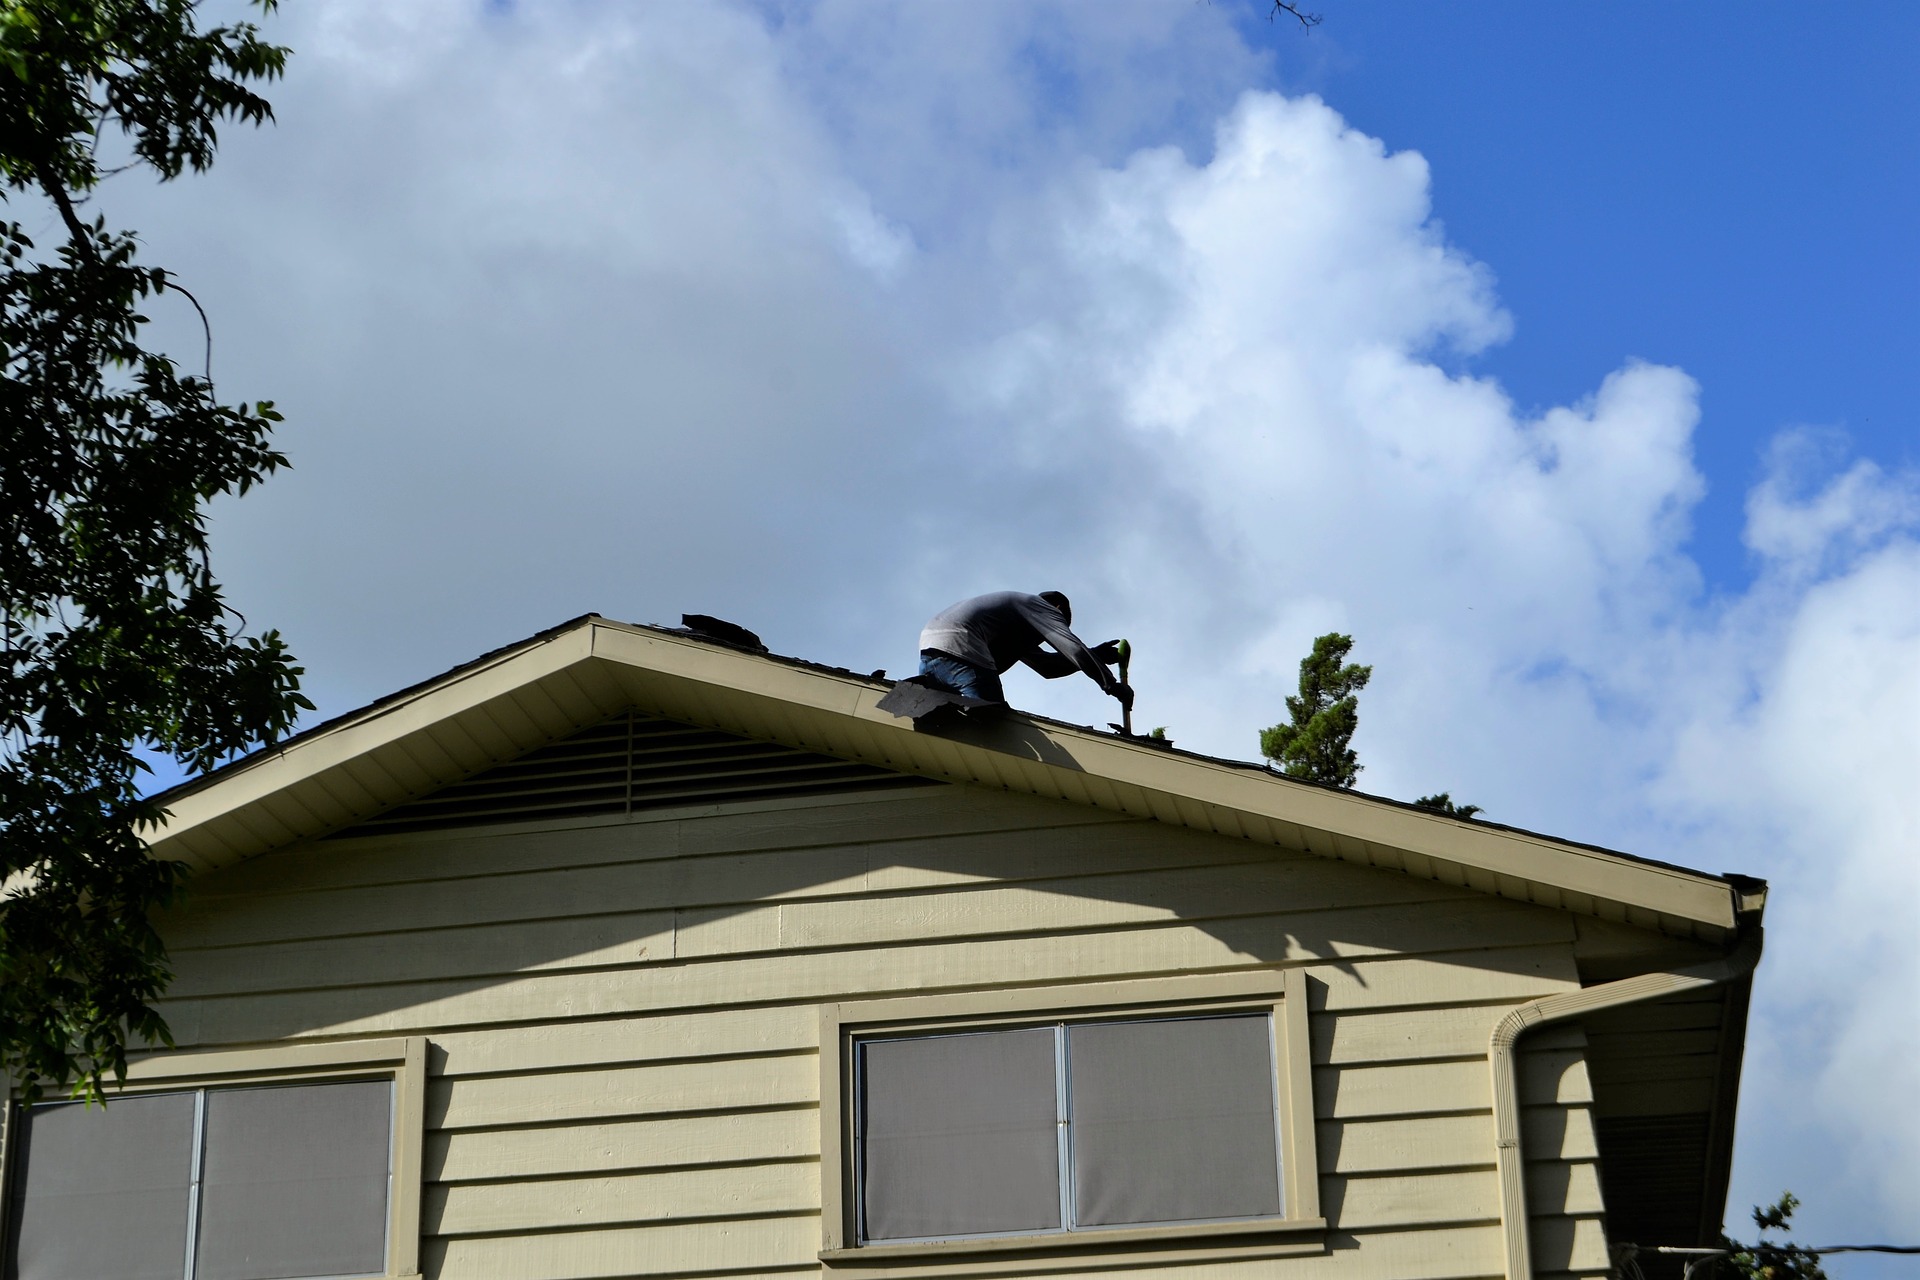
- Use extreme caution when walking on your roof. Whether looking for damage or applying the tarp, you can cause further damage to roofing materials; or you may even break through a soft spot if the roof is significantly damaged. If you have any concerns whatsoever, call a licensed roofing contractor.
- If you have plywood available, you may wish to install it under your tarp for an additional layer of protection from water intrusion.
The most important thing to remember is that a roof tarp is not meant to be a permanent solution. If your roof needs repair or maintenance, call Avery Roof Services to come out as soon as possible. We will assess your situation and work with you to determine the best way to repair or replace your roof in a timely manner.
Your Local, Trusted, Sarasota Roofer